
DIY Blog Makeover 101
Let me begin this post with telling you all that I am not a website designer, I know about 1% of all there is to know about HTML, and I usually learn by not doing it right the first time :)
Anything that I do is completely self-taught, googled, or learned by trial and error!
However, I wanted to give you a little "behind the scenes" look at how I whipped up this new look. Maybe if you are interested in creating a new look for your blog, some of these resources and tools could help you.
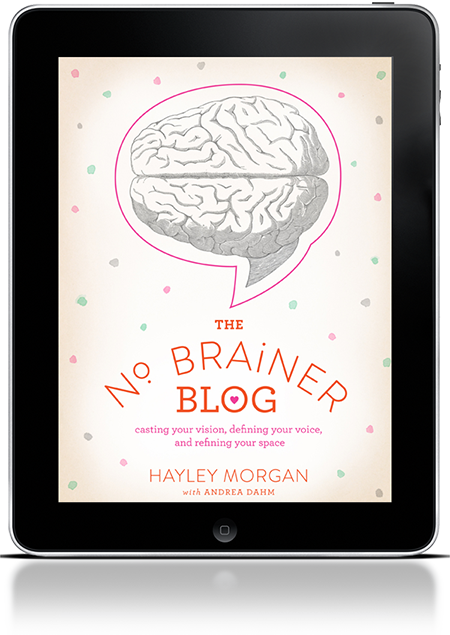
First, my blog has had a lot of new looks over the years, and it's only been until recently that I have figured out some key elements for creating a cohesive look and feel. Reading Haley Morgan's No Brainer Blog was definitely a great launching point for me to get started, so I highly recommend picking up the easy-to-read ebook if you want a wonderful resource!
Here's the step-by-step process I used:
1. When I decided to change my blog/domain name to www.nicolejoelle.com, I knew that I would also need to create a new look. So, I started with the logo. My friend, Kelley Cummins of Kelley Cummins Design, had created a logo for my business cards last fall. I asked her if I could use the logo for my blog, and she agreed. I used the logo as the focal point of my design + look.
2. Using Pictaculous, I created a color palette from that image. It gives you the color number so that you can use the same color for your fonts, etc. Here's my palette:

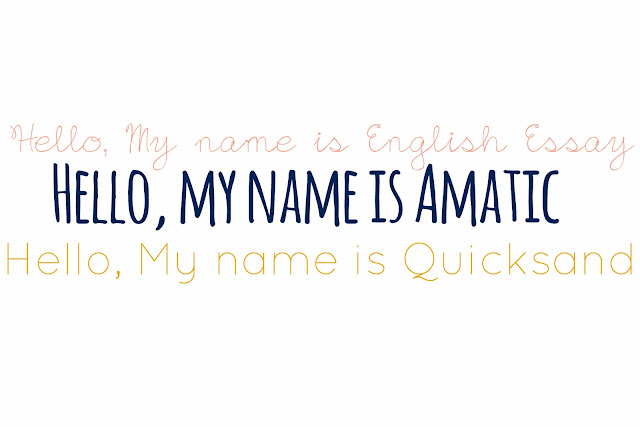
3. Once I established my palette, I chose my fonts. I played around with lots of different fonts until I found ones that I liked together. Since I use blogger, I also wanted to use google fonts. You can find the google fonts here and here's another great resource for finding some nice google fonts. I also used a few non-google fonts for my header and images. There are so many places to find fun + unique fonts. One of my favorites is www.dafont.com. I chose three main fonts. Here they are:
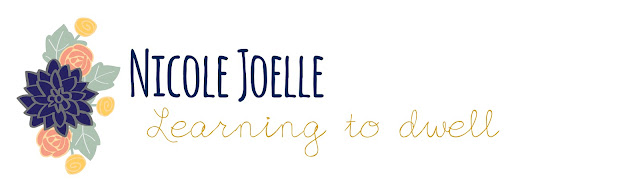
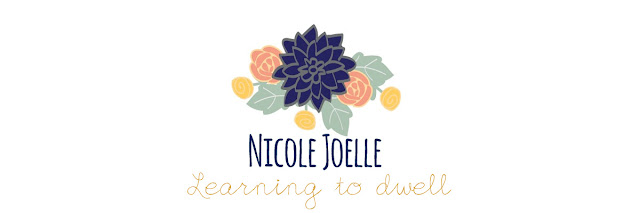
 4. After choosing my fonts, I created two different headers. I like to play around with a few different options until I figure out which one I like best. I use Picasa to make my headers. Here are my final contestants:
5. At this point, I had my color scheme, my fonts, and my header. Now, I needed to change HTML codes, etc, to make my blog more customized. At this point, I also found free social media icons that were in my color scheme and customized them for my social media links. I'm not even going to try and explain how I made every change, but here are some wonderful tutorials that I used:
-- Changing the title font
-- How to center your menu
-- Adding social media buttons
There are some other elements that I'd like to incorporate and try on the blog, but for now, my brain is still bleeding a little from the initial overhaul.
Honestly, I wouldn't say that tweaking your own blog is easy unless you have lots of experience or knowledge of HTML, etc. But, I believe that it you want to create a new look, it is doable and you can learn how to do it!
But...you may want to back up your blog before you get too knee-deep in coding, etc!
Do any of you play around with your blog's look? What tools have you found to be helpful? I also have a Pinterest board dedicated to blog resources...if you want to take a look :)
Have a lovely day!

Anything that I do is completely self-taught, googled, or learned by trial and error!
However, I wanted to give you a little "behind the scenes" look at how I whipped up this new look. Maybe if you are interested in creating a new look for your blog, some of these resources and tools could help you.
First, my blog has had a lot of new looks over the years, and it's only been until recently that I have figured out some key elements for creating a cohesive look and feel. Reading Haley Morgan's No Brainer Blog was definitely a great launching point for me to get started, so I highly recommend picking up the easy-to-read ebook if you want a wonderful resource!
In the past, I would tweak my blog without much thought or direction. I would just get the itch to change things around and then play around. This time around, I thought a lot more about what I wanted this space to look like and actually had a vision.
Here's the step-by-step process I used:
1. When I decided to change my blog/domain name to www.nicolejoelle.com, I knew that I would also need to create a new look. So, I started with the logo. My friend, Kelley Cummins of Kelley Cummins Design, had created a logo for my business cards last fall. I asked her if I could use the logo for my blog, and she agreed. I used the logo as the focal point of my design + look.
2. Using Pictaculous, I created a color palette from that image. It gives you the color number so that you can use the same color for your fonts, etc. Here's my palette:

3. Once I established my palette, I chose my fonts. I played around with lots of different fonts until I found ones that I liked together. Since I use blogger, I also wanted to use google fonts. You can find the google fonts here and here's another great resource for finding some nice google fonts. I also used a few non-google fonts for my header and images. There are so many places to find fun + unique fonts. One of my favorites is www.dafont.com. I chose three main fonts. Here they are:
 4. After choosing my fonts, I created two different headers. I like to play around with a few different options until I figure out which one I like best. I use Picasa to make my headers. Here are my final contestants:
5. At this point, I had my color scheme, my fonts, and my header. Now, I needed to change HTML codes, etc, to make my blog more customized. At this point, I also found free social media icons that were in my color scheme and customized them for my social media links. I'm not even going to try and explain how I made every change, but here are some wonderful tutorials that I used:
-- Changing the title font
-- How to center your menu
-- Adding social media buttons
There are some other elements that I'd like to incorporate and try on the blog, but for now, my brain is still bleeding a little from the initial overhaul.
Honestly, I wouldn't say that tweaking your own blog is easy unless you have lots of experience or knowledge of HTML, etc. But, I believe that it you want to create a new look, it is doable and you can learn how to do it!
But...you may want to back up your blog before you get too knee-deep in coding, etc!
Do any of you play around with your blog's look? What tools have you found to be helpful? I also have a Pinterest board dedicated to blog resources...if you want to take a look :)
Have a lovely day!

well done, Nicole. Isn't redesigning fun and satisfying?! I love "I did it" feeling that comes along with it :)
ReplyDeleteit is looking great! i just love it!
ReplyDelete