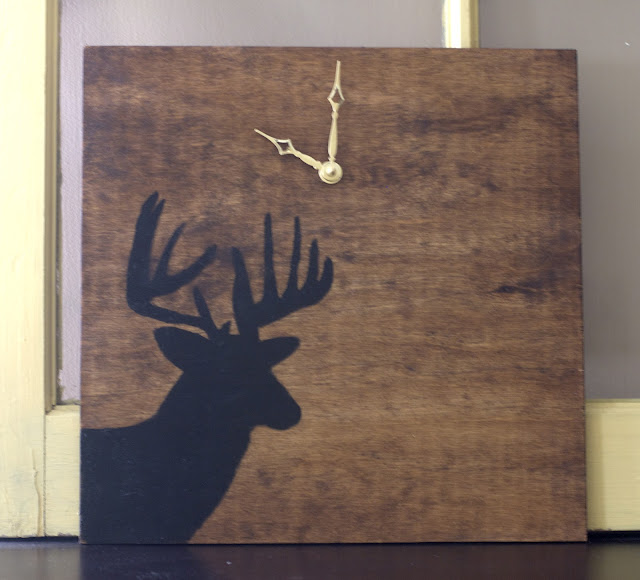
Tick, Tock...Oh, Deer!
Since we've been busy (and had a stint without Internet) since Father's Day, this post is a little late in the game. Still, I wanted to share :)
My dad recently built a new office space in his furniture store, so I thought I'd make him some artwork to put up on the wall. While visiting one day, I noticed that he didn't have a clock, so I decided to make him one for Father's Day.
Here's what the finished result was:
The process is pretty simple! Here's how I did it:
1. Had a 12x12" piece of wood cut at Home Depot.
2. Found the image that I wanted to use as a silhouette (it would be so fun to do this with your kids silhouette's too!).
3. Before cutting and tracing the image on the wood, I stained it with a rich walnut color.
4. After it dried, I traced the image and painted in the lines. Once I was satisfied with my paint job, I sealed the wood with poly.
5. At this point, I hog-tied Josh and made him drill a hole for the clock (actually, he was quite willing to be manly and drill a hole!). The clock set I bought had a back piece that had a wall hook. So, it was important to make sure that the hole was centered.
6. Put my clock pieces together according to the directions.
7. Ta-Da!
I really enjoyed this project and am thinking about making a clock for our new place too :)


Comments
Post a Comment