
DIY Chalk Paint and a Desk

Poor desk. I haven't named her yet like Charlotte, Marge, or Sunny.
Maybe I should name her Charlie or Susie.
Any recommendations?
Well, "the desk" began as light, pine/oak desk. She was really nothing special, and I accidentally forget to take a before picture. You'll have to use your imagination!
Because I was lazy (aka: hate sanding) and also have been looking for a piece to experiment on with my mad scientific chemistry skills (yeah...right), I decided to whip up an experimental can of DIY chalk paint. Like any good scientist, I searched pintrest for some help. I found some excellent ideas on Elizabeth and Co. and No Minimalist Here. Since I had some plaster of paris on hand, I went with it. I found their tutorials an excellent help; believe me, I could not have come up with this on my own :)
To be honest, there wasn't much scientific anything going on (unless you count making a huge mess and splattering stuff all over!). Yet, just for the record, this is what I did.

I poured out about 1/3 of a quart of flat paint into a new container. Then, I poured about 1 cup(ish) of plaster paris into the remaining 2/3's of paint in the quart. I stirred and stirred. Then, I added about two tablespoons of water and stirred some more.
It was gritty, but not clumpy.

Since I've never used the real chalk paint, I was left to guess at what it should look like. I thought the consistency looked about right, so I started painting.
Surprisingly, it went on nice and smooth. Although there were a few places that looked a little bubbly, they went away after it was dry. I ended up painting three coats (just for good measure) and finished with a coat of Minwax finishing wax. In the end, I was happy with my little can of chalk paint and hope to use it again! Although, I did realize that adding a little water after it was sitting for a while (like overnight and more) would have been a good idea. I noticed that it got a little too gritty after sitting for a while. And although I just sanded the bubbles smooth, I think that adding a little water and stirring well would have solved the problem.
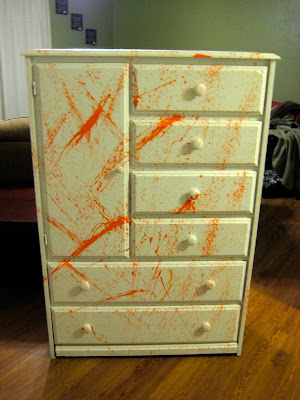
So, here's some more shots of "the desk" after a couple coats of chalk paint and a rustic stain job on the top!


Maybe I will name her Charlie. I kinda like it.
ps. I've got a giveaway going on! Click here for more info :)

{I'm sharing at Primitive and Proper, Miss Mustard Seed, Restore Interiors, It's Overflowing, Tatertots and Jello, and Whipperberry}

that looks great, nicole! i love the weathered looking top!
ReplyDeleteVERY cute!! I am looking for a similar shape desk to add to my daughters room.
ReplyDeleteComing over from whipperberry.
Alisha